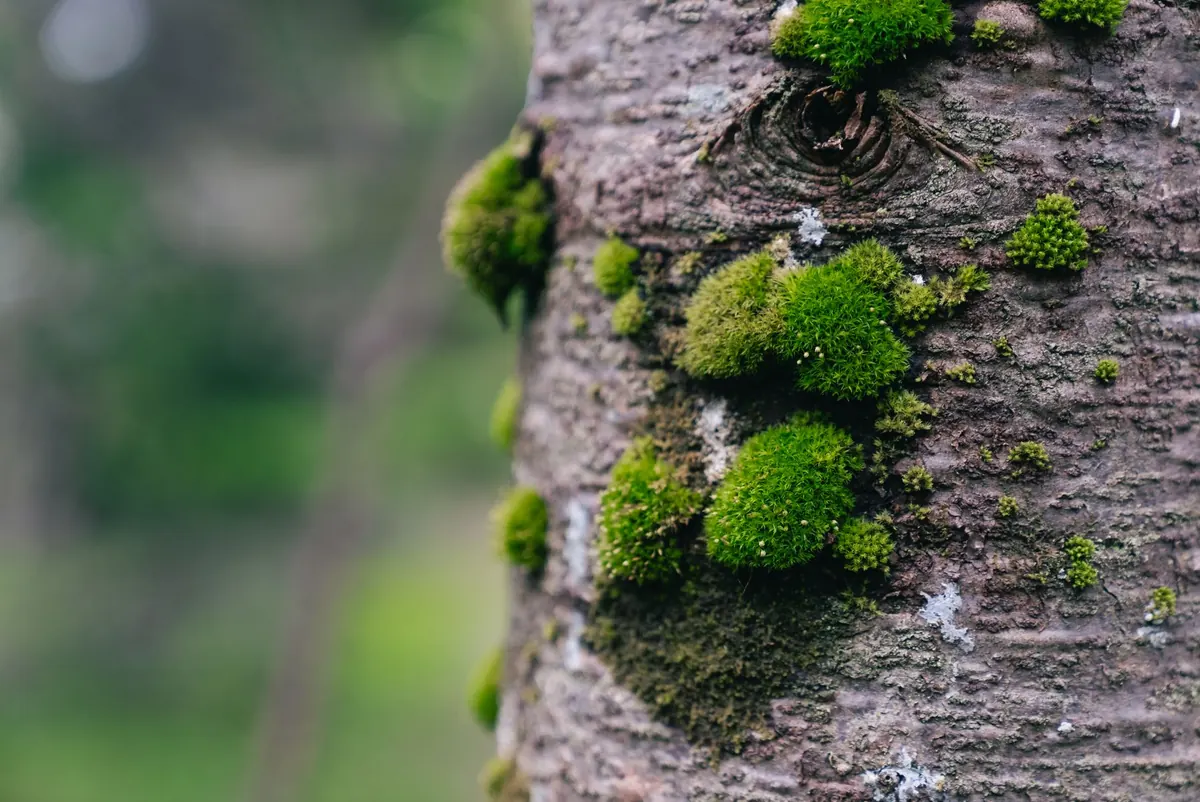
Most houseplants sulk in a north-facing flat. Moss carries on. It has spent a very long time learning to grow on shaded bark, damp stone and the cold side of a wall, and it does not need a sunlit windowsill to look good. What it does need is steady moisture, moving air and a bit of patience. Get those right and a shallow tray of moss on a bookshelf can be more rewarding than anything you would bring home from a garden centre.
This is for anyone with a dim corner, a spare glass jar and no appetite for grow lights. It covers what "low light" actually means indoors, which mosses cope with it, and the routine that keeps a tray green through a British winter.
What low light really means indoors
"Shade tolerant" is a loose phrase, and indoors it gets looser still. Light falls off sharply as you move away from a window. A north-facing windowsill often receives more usable light across a whole day than a spot two metres back from a bright south window, because it is lit at a shallow angle from morning to evening rather than being blasted for two hours at noon.
Here is a test that needs no equipment. Sit where you plan to keep the moss and read a book in normal-sized print without switching on a lamp. If that is comfortable, most shade mosses will grow there. If you find yourself squinting, the moss will survive for months but will slowly thin out, stretch and pale.
A phone light meter app is accurate enough for comparisons. Measure at midday in each spot you are considering, then measure the same spot again at eight in the morning and six in the evening. Consistent moderate readings beat a short, fierce burst every time.
Which mosses cope with shade
Not all mosses are equal in a dim room. These are the ones worth starting with, and they are widely available from specialist growers or already growing quietly in your own garden.
Reliable indoors
- Hypnum cupressiforme (sheet moss, also sold as feather moss) — flat, feathery and carpeting. The most forgiving choice for a north-facing windowsill, and easy to find on old walls and tree bases.
- Thuidium tamariscinum (fern moss) — delicate, frond-like and happiest in damp shade. Excellent in a lidded container.
- Dicranum scoparium (mood moss) — upright, grassy tufts that look tidy in a shallow bowl. Wants slightly more light than the two above; a bright but sunless sill suits it.
- Leucobryum glaucum (cushion moss) — pale, rounded hummocks that grow slowly. Dislikes sitting wet for long periods.
- Bryum argenteum (silver thread moss) — the silvery-green tufts in paving cracks. Tougher than it looks and tolerant of forgetful watering.
Better avoided indoors
Sphagnum mosses need bright light and permanently wet conditions. They will sulk in a dark room and rot if kept under glass without air. If you do want to try one, buy from a sustainably grown, peat-free source rather than taking it from a bog — peatland is a fragile habitat and harvesting from the wild damages it.
Also worth knowing: anything sold as "golden clubmoss" or "Irish moss" is usually a Selaginella, which is not a moss at all but a fern relative. It will crisp up within days if you treat it as one.
Water, humidity and the central heating problem
Moss has no roots. It absorbs water through its leaves, which changes the whole approach to watering. The question is not how much you pour on, but how damp the air and the moss surface stay between visits.
- Use rainwater where you can. Tap water in hard water areas leaves a chalky crust that dulls the leaves and builds up on glass.
- Standing tap water overnight removes chlorine, not hardness. It is better than nothing, but it will not stop limescale in a hard water area.
- Mist little and often with a fine spray. A moss that stays sodden and still for weeks will grow mould rather than grow.
- Keep containers away from radiators. A windowsill above a radiator is the worst spot in any British home: warm, dry and draughty in the wrong way.
- Lidded containers do the work for you. A bell jar, cloche or lidded glass vessel holds humidity, but open it for an hour a day so the air moves.
- Group containers together, or stand them on a tray of gravel with water kept below the surface of the stones.
Substrate, containers and getting started
Moss needs something to hold onto that stays damp but never turns sour. A mix of two parts peat-free multi-purpose compost or coir, one part garden loam, and one part horticultural grit works well. Press it down firmly so it is level and slightly consolidated, then dampen it before planting.
Tear your moss into small pieces rather than laying whole turves. Scatter them over the surface, press them in gently with the flat of your hand, and dust a little fine soil or sand over the top to help them settle. Keep the container out of direct sun and mist daily for the first fortnight.
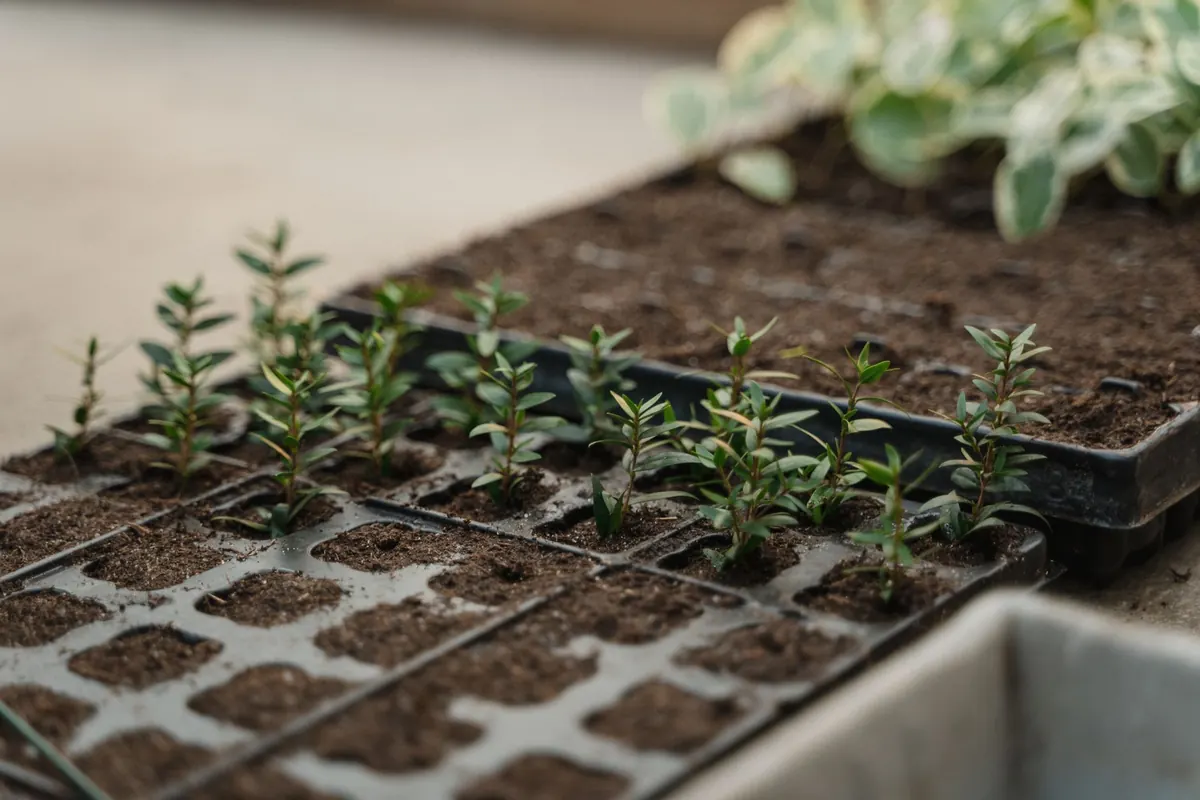
Almost anything can be a container: a terracotta saucer, an old seed tray, an enamel dish, a slab of slate, a wide glass jar. Shallow is fine. Glass has the advantage of bouncing light around inside, which helps in a dim room.
As for where the moss comes from, fragments lifted from your own lawn edges, path cracks or the north side of a shed are ideal. Never dig from a nature reserve, a Site of Special Scientific Interest or land that is not yours without the owner's permission — in the UK that is not simply bad manners, it is an offence.
Troubleshooting
- Pale, crisp tips — too dry, or catching too much direct sun.
- Black, slimy patches — waterlogged and airless. Remove the affected moss, improve drainage and increase airflow.
- Grey fuzz or mould — high humidity with no air movement. Open the lid daily and pick out dead material.
- White crust on the surface — limescale. Switch to rainwater and replace the top layer of substrate.
- Sour smell, mushy base — compacted, airless mix. Repot with extra grit.
- Small black flies — fungus gnats, drawn to permanently wet surfaces. Top-dress with grit and let the surface dry slightly between mistings.
- Green film on glass — algae, a sign of too much water and stagnant air.
One reassurance before you panic: many mosses go brown and dormant when dry, then green up again once moisture returns. Do not bin a tray too quickly. Give it a few weeks of gentle misting and decent light before you decide.
A simple routine that keeps moss green
- Touch the surface every day or two. If it springs back under your finger, leave it alone. If it feels dry and crackly, mist.
- Mist in the morning, not at night. A couple of minutes with a fine spray is plenty; you want damp, not dripping.
- Once a week, trim brown or stretched tips with small scissors and pick out fallen leaves.
- Every two to three weeks, give the container a deeper soak from below and let it drain properly.
- Once a month, check the light. If growth is thin and stringy, move the container closer to the window — often a single metre makes the difference.
- Keep notes. Moss in a cold hallway behaves differently from moss in a warm kitchen, and your own observations will teach you more than any general rule.
Start small. A single terracotta saucer, a handful of Hypnum from the garden and a north-facing sill will tell you more in six weeks than a shelf full of bought-in trays. Expect a slow beginning. Moss grows in millimetres, and that is part of its charm.
Photo: Erik Mclean / Pexels