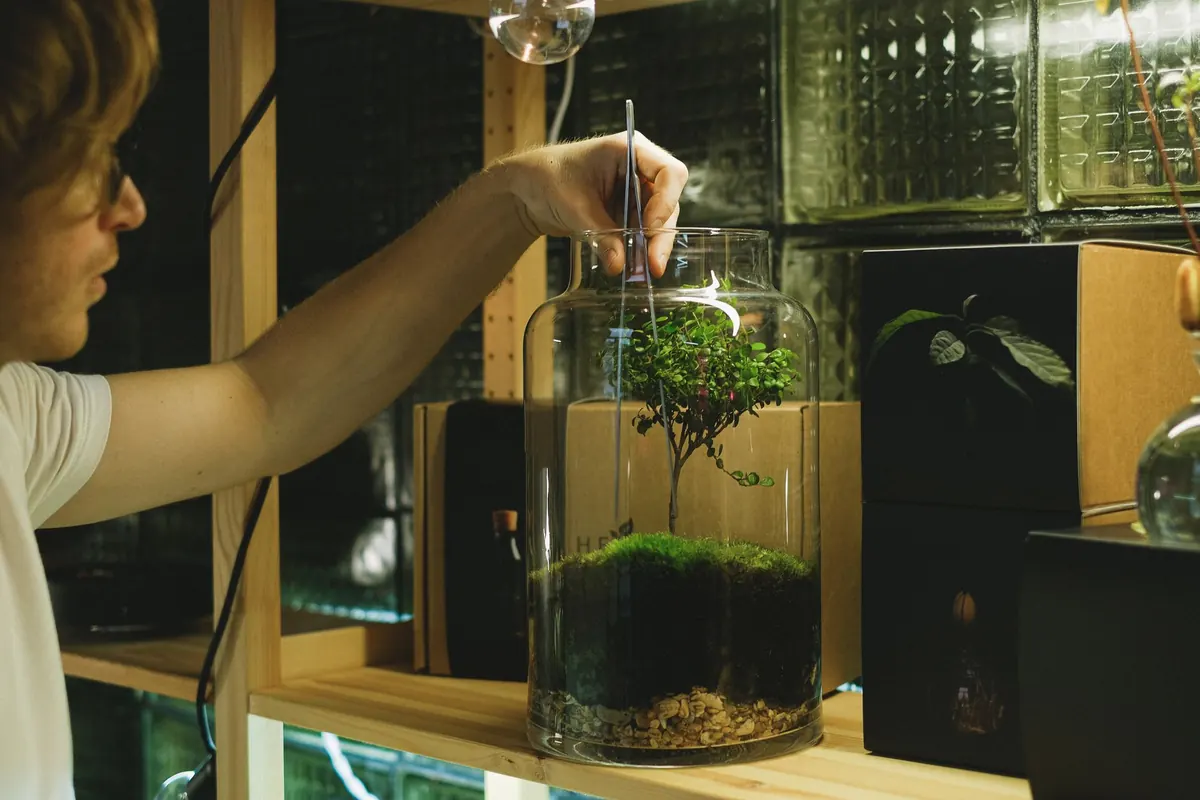
A jar of moss on a windowsill is one of the cheapest, calmest things you can grow indoors. There are no flowers to deadhead, no feeding schedule, and barely any watering — just moss, a few layers of grit and soil, and a lid. If you can make a sandwich, you can build a moss terrarium. What follows is a method that works in an ordinary jam jar or Kilner jar, plus the small routines that keep the moss green rather than grey. Give it half an hour to build, and a couple of minutes a month afterwards.
What you'll need
You do not need specialist kit, but the right container makes a real difference. A wide-mouthed jar of roughly 500ml to 2 litres is ideal: you need to fit your hand or a spoon inside to place the layers. Tall, narrow bottles look beautiful but are miserable to plant into. A lid matters too, because a closed jar holds its own humidity and needs watering only occasionally.
- A clean glass jar with a lid, wiped dry inside
- Gravel or pea shingle for the drainage layer
- A small handful of activated charcoal — optional, but it helps a sealed jar stay fresh-smelling
- Substrate: peat-free compost or coir mixed with horticultural grit, roughly two parts to one
- Moss, either bought or gathered responsibly
- A spray mister, a long spoon, and tweezers or chopsticks for fiddly placement
- Rainwater or filtered water for misting
Choosing moss that suits a jar
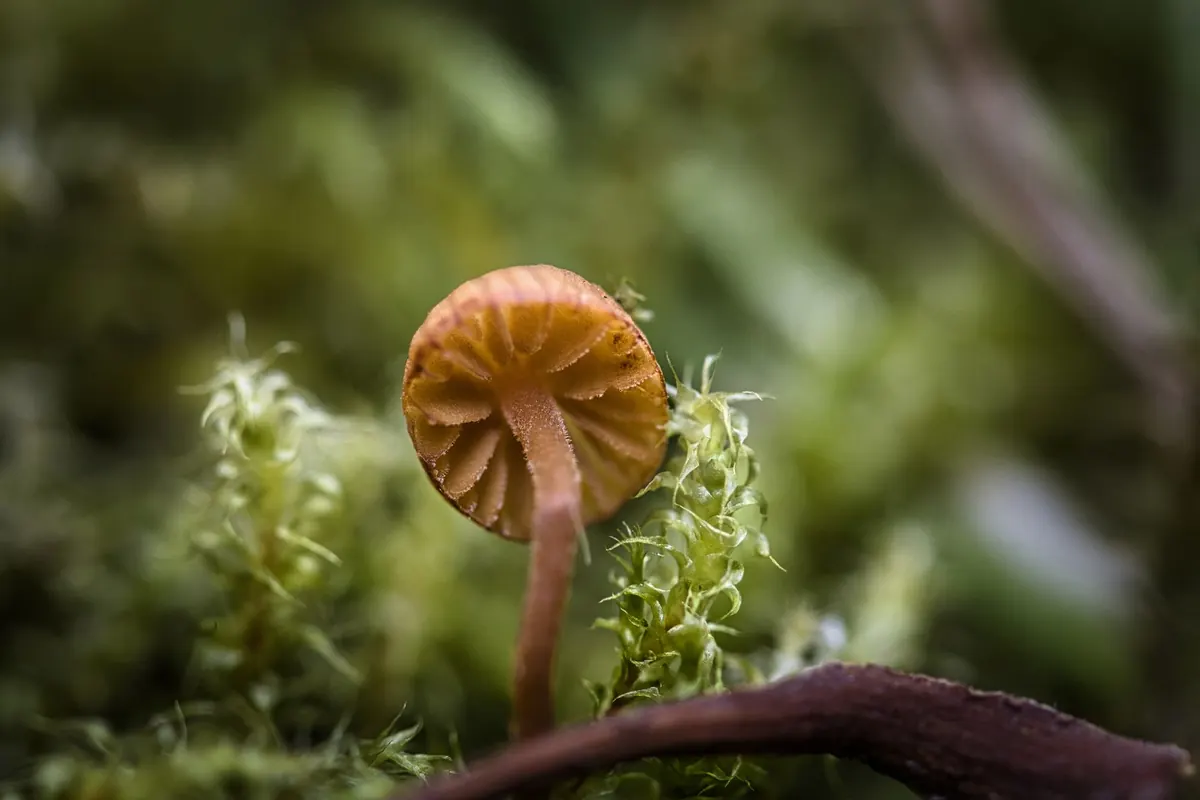
Not all moss behaves the same way indoors. Cushion-forming species such as Bryum and Leucobryum keep a tidy, rounded shape and sit neatly on the substrate. Feathery, trailing mosses such as Hypnum cupressiforme spread sideways and drape over stones, which softens a jar beautifully. A mix of two or three types gives you texture without much effort.
If you are gathering your own, take it from your own garden where possible — between paving stones, along a lawn edge, at the base of a wall. Never strip moss from nature reserves, sites of special scientific interest, or anyone else's property without permission, and always leave the bulk of a colony in place. Collect in small patches rather than sheets, and keep a little of the soil attached, as that helps it settle into its new home.
Bought moss from a specialist supplier arrives cleaner and free of hitchhikers. Whichever route you take, check for slugs, worms, larvae or weed seedlings and pick them out before planting.
Building the layers
The classic jar terrarium is built in layers, and each one has a job. Drainage stops water pooling around the substrate, charcoal keeps things sweet, and the substrate gives the moss something to grip.
- Start with 2–3cm of gravel or shingle. Tap the jar gently to level it.
- Add a thin layer of activated charcoal — about 5mm is plenty. It is not essential, but a sealed jar with charcoal tends to smell of damp forest rather than stagnant pond.
- Spoon in 3–5cm of your compost and grit mix. Keep it lean: rich, fertile compost encourages mould and algae rather than moss.
- Firm it gently with the back of a spoon. You want a surface that will not slump, with a slight slope towards the front so you can see the moss rather than the side of the jar.
- Place any hardscape now — a couple of small stones, a piece of cork bark, a twist of dried twig — before the moss goes in.
- Position the moss in patches, pressing each piece down so it makes firm contact with the substrate.
- Mist lightly until the surface is damp, then wipe any smears off the inside of the glass.
Planting and arranging
Contact is everything. Moss has no proper roots; it takes in water through its leaves and holds on with fine, hair-like anchors. If a piece sits loosely on top of the soil, it will dry out and curl. Press it down with your fingers, a spoon or the flat end of a pencil.
Aim for around three-quarters coverage rather than a completely full jar. Gaps will fill in as the moss spreads, and the contrast between moss, stone and bare substrate is what makes a small jar look composed. Cushion mosses work well as a single focal clump; feathery mosses are better threaded between stones. Trim any straggly edges with scissors rather than tugging at them.
Sealing the jar and finding the water balance
Before you close the lid, the substrate should feel like a wrung-out sponge — damp throughout, but not dripping. If you can see water sitting in the gravel layer, you have overdone it. Leave the jar open for an hour or two and try again.
Once sealed, the jar runs its own weather. A light film of condensation on the glass in the morning that clears by the afternoon is exactly right. If the glass stays foggy all day, the jar is too wet: take the lid off for a few hours. If there is no condensation at all after a day, mist the glass lightly and close it again. From then on, most sealed jars need a light misting every few months at most, using rainwater or filtered water rather than tap water, which leaves mineral deposits on the glass.
Light, position and routine care
Bright, indirect light suits moss best. A north-facing windowsill, or a spot a metre or two back from a sunny window, works well. Direct summer sun through glass will cook a sealed jar surprisingly quickly.
Keep it away from radiators and draughty doorways, and you can mostly leave it alone. Open the lid for a few minutes every week or two to let air circulate, and pick out any fallen leaves or brown patches before they turn to mould. Do not feed it: moss grows slowly and fertiliser only encourages algae and leggy weeds.
When something looks wrong
White fluffy mould means too much moisture and too little air. Remove it with a cotton bud, leave the lid off for a day, and check the drainage layer is not sitting in water.
Yellowing or crisping usually points to dryness or too much sun. Feel the substrate, mist if needed, and move the jar further from the window.
Green film on the inside of the glass is algae, caused by wet glass plus strong light. Wipe it away and shift the jar to a shadier spot.
A sour smell almost always means overwatering. Air the jar out, and if it persists, rebuild it with fresh drainage and a little charcoal.
Start with one jar and keep notes
Your first terrarium is a learning jar, and that is fine. Note the date you built it and roughly when you mist it, so you can see how the condensation cycle behaves through the seasons — a jar that is perfectly balanced in March may need opening more often in July.
Moss grows slowly, so do not expect visible change in a fortnight. Give it a month and you will start to see new tips and pieces knitting together across the substrate. After that, the jar largely looks after itself: a quiet green square of the garden, sitting on a shelf, needing almost nothing from you.
Photo: Anna Shvets / Pexels